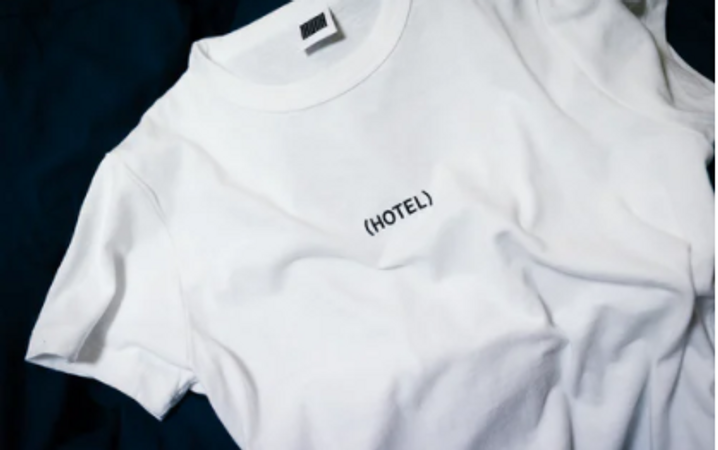
How to Apply Heat Transfer Vinyl to Shirts
Heat transfer vinyl makes it easy to customize t-shirts, sweatshirts, and other apparel items with your own unique designs. Whether you’re looking to start your own clothing brand or want to make a large number of custom shirts for a team, heat transfer vinyl will get the job done. But if you haven’t worked with the vinyl before, you’re probably wondering how to apply it. With the right supplies, you’ll be creating custom shirts in no time.
Gather Your Heat Transfer Supplies
Before you can start applying heat transfer vinyl, you need to make sure you have all the materials necessary. You will need your heat transfer vinyl of choice, T-shirts, a cutting machine, thermal tape, and a heat source. A heat press is recommended because you can transfer bigger designs faster, but if you don’t have one already, an iron should work fine. For your cutting machine, we recommend the Silhouette Cameo.
Picking the Best Shirt for Heat Transfer Vinyl
When purchasing wholesale T-shirts for your business or project, you want to pick a good material. The best and most popular material for heat transfer is cotton. Shirts like the Bella+CanVas Unisex Jersey Tee and the Gildan® Ultra Cotton® Adult T-Shirt provide a great blank canvas for your designs. You can also use shirts containing synthetic material, but you will need to use lower heat settings to avoid burning the fibers.
Prepare and Cut Your Design
With your supplies ready, you can start on your design. Using your cutting machine software, create a cut file (usually SVG files) of the design you’ve made. Make sure to measure your shirt surface and scale your design to the right size. You can always print the design on a piece of paper and put it against your shirt to make sure the size and placement look good. When you’re happy with the size, you need to mirror your design. If you don’t, it will be backward on your shirt.
Place your vinyl paper on your cutting mat with the shiny side down and load it into the machine. Adjust the settings to fit your vinyl and press cut. If you aren’t sure you have the correct settings down, you can do a practice cut on a small piece of vinyl to see if it goes through. Remove any excess vinyl from your design, and you’re ready to transfer.
Apply Your Design With an Iron or Heat Press
You need heat and pressure for your vinyl to adhere to your shirt. A heat press will offer even pressure and cover more space, but an iron also works if you don’t have a heat press yet or won’t be making shirts on a regular basis. Heat your iron or heat press to around 300° F and place your design where you want it on the shirt, securing it with thermal tape. Use the heat press for 10 seconds or press down with an iron on each part of the design for 10 to 20 seconds until the vinyl has transferred. Be careful not to press for too long because this can melt the vinyl. Remove the sheet, flip your shirt inside out, and apply heat from the other side. You now have a custom shirt that’s ready to wear!
Wholesale Apparel and Vinyl from Heat Press Zone
At Heat Press Zone, we pride ourselves on providing quality wholesale apparel and vinyl to our customers. We carry a great selection of heat transfer vinyl (HTV) to help you create custom clothing. We offer different types of HTV, including regular vinyl, shiny metallic vinyl, textured vent hole vinyl, and more, all in a wide range of colors. Have questions or need help finding the right products for your project or business? Please reach out to our customer service team. We are happy to assist you.


